GTA 6 free aim, lock-on and aim assist: the Targeting settings
Targeting in GTA 6 has three choices: Lock-On, Partial and Free Aim. The row is the first on the Gameplay tab, and the aim assist rows come right below it.
First-hand · Xbox Series S · captured 19 November 2026, 02:39 UTC
Steps
- Pause the game and choose Settings, the last entry of the pause menu.
- Press RB or LB until the Gameplay tab is lit. It is tab 3 of 8.
- Move down to the section Combat and pick the row you want: Targeting, Aim Assist Strength, Shooting Assist and Drive-By Assist.
- Press left or right to change the value. The change takes effect at once.
- Press B to go back. X restores the selected row to its default.
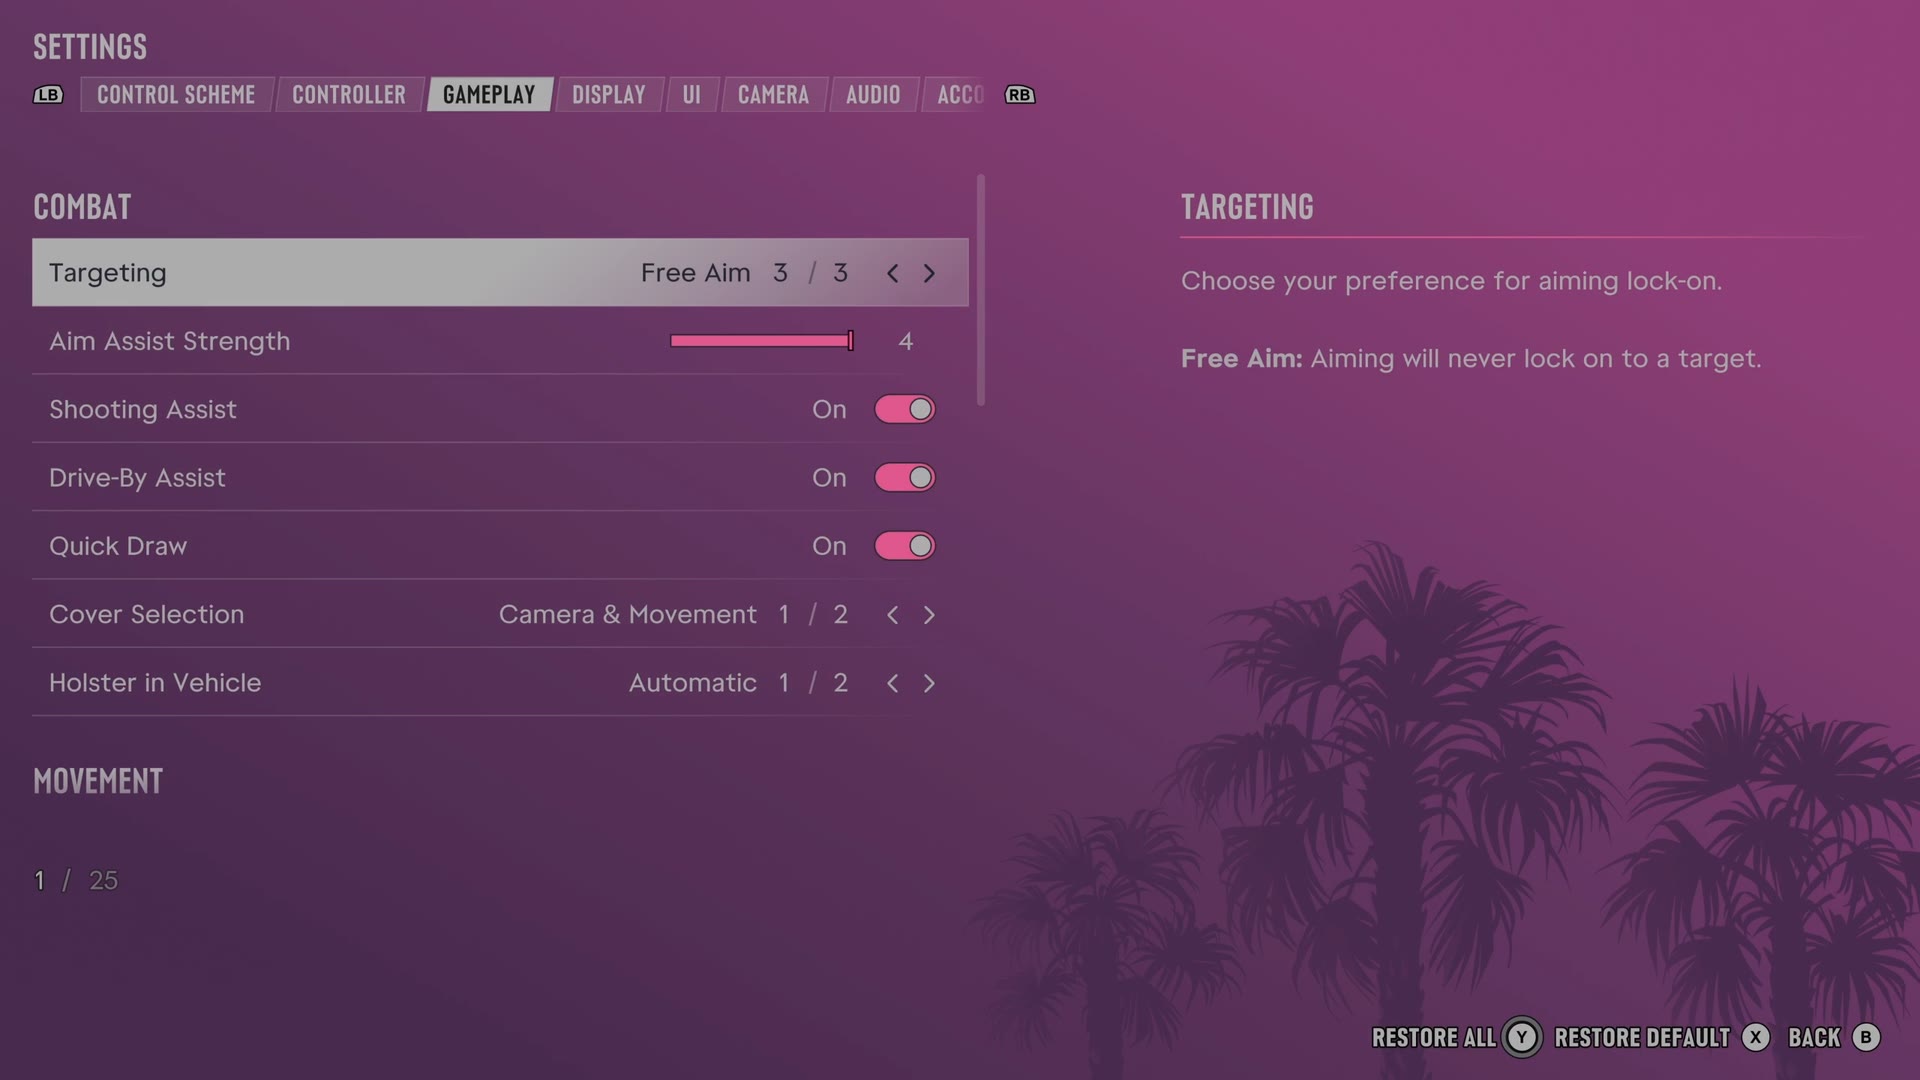
The rows
Targeting
Chooses whether aiming locks onto a target, moves towards one or stays manual.
3 choices Lock-On · Partial · Free Aim
What the game says about each choice
- Lock-On
- Choose your preference for aiming lock-on. Lock-On: Aiming will always attempt to lock on to the nearest target.
- Partial
- Choose your preference for aiming lock-on. Partial: Aiming will move towards a nearby target but will not lock on.
- Free Aim
- Choose your preference for aiming lock-on. Free Aim: Aiming will never lock on to a target.
Aim Assist Strength
Sets how strongly aiming slows the reticle near a target.
Slider set to 4 (bar full) on our console
Shooting Assist
Turns assistance with following nearby targets on or off.
Switch On on our console
Drive-By Assist
Turns automatic aiming at nearby targets while firing from a moving vehicle on or off.
Switch On on our console
Every row of this tab: GTA 6 gameplay settings: targeting, aim assist and accessibility. The whole screen: GTA 6 settings on Xbox Series S.